Customizing SDDM into a Neon Theme
A step-by-step guide to install and customize the theme of SDDM.
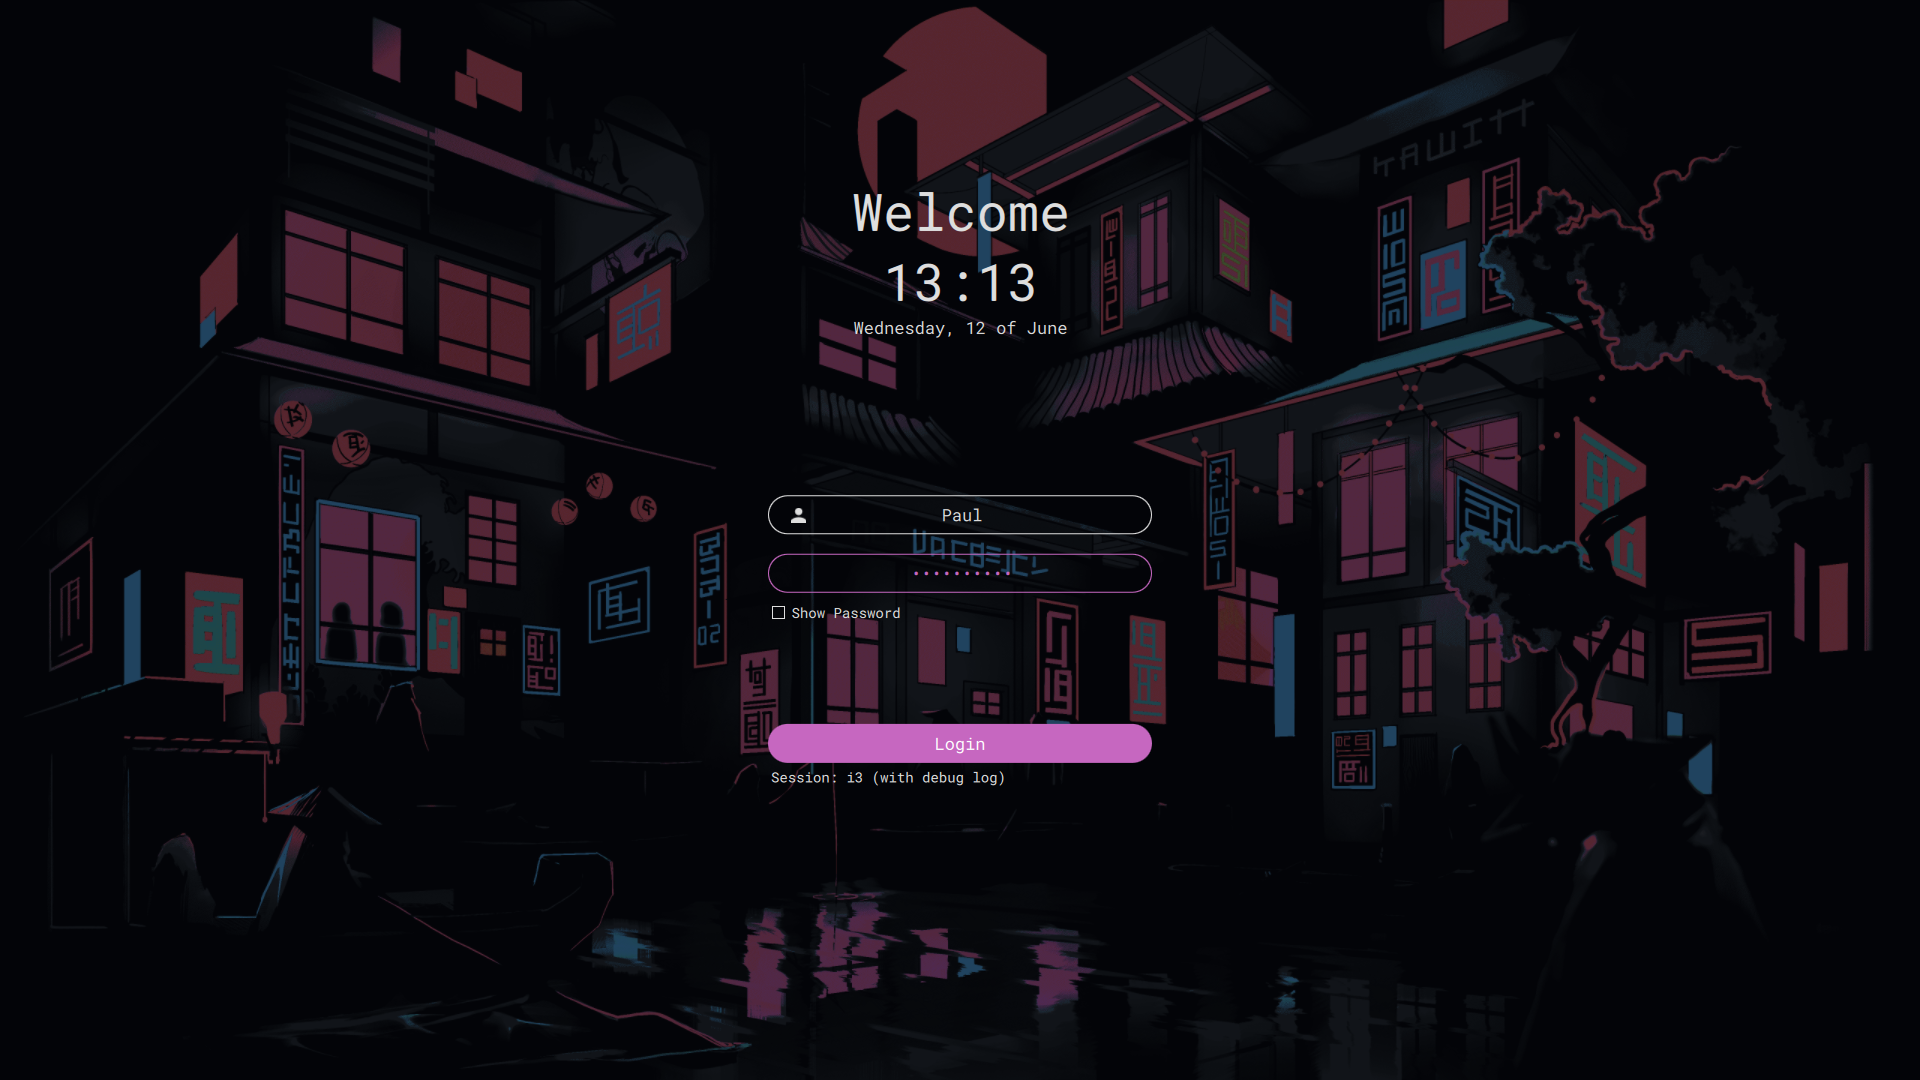
A Neon Theme for SDDM
Transform your login screen into a visually stunning neon-themed interface with the sddm-neon-theme! This guide will walk you through installing and configuring the theme on your system.
The theme is no available on GitHub as I have now moved to OpenSuse Tumbleweed.
Install Dependencies
Before installing the theme, ensure you have the required dependencies:
1
yay -S qt5-graphicaleffects qt5-quickcontrols2 qt5-svg sddm
If you’re not using yay, you can install these packages with your preferred package manager.
Installation Steps
1. Clone the Repository and Copy Fonts
First, clone the repository and copy the necessary fonts to your system’s fonts directory:
1
2
sudo git clone https://github.com/paulrounak/sddm-neon-theme.git /usr/share/sddm/themes/sddm-neon-theme
sudo cp /usr/share/sddm/themes/sddm-neon-theme/Fonts/* /usr/share/fonts/
2. Update SDDM Configuration
Next, update the SDDM configuration file to set the theme as the current theme. Append the following configuration to /etc/sddm.conf:
1
2
[Theme]
Current=sddm-neon-theme
To simplify this process, you can run the following command:
1
2
sudo echo "[Theme]
Current=sddm-neon-theme" | sudo tee /etc/sddm.conf
Enjoy Your Neon Login Screen
Restart your display manager or reboot your system to see the neon theme in action!
1
sudo systemctl restart sddm
With these steps completed, your SDDM login screen should now glow with the vibrant aesthetics of the sddm-neon-theme.